If you want to avoid the hassle of purchasing a domain name, setting up a hosting service, choosing an editing program, and all the other headaches that come with launching a website, you do have other options. If you don’t want to make a whole website but you need to make a page or two available on the internet for other people to access, you can use one of the tools described below. They’re great for everything from a “Contact Me” page, shareable resume, help/info document, an ad for your product, a one-page website (or more), etc. Tip: You can also host web pages from your own computer with IIS, or online with services like Wix.
Google Docs
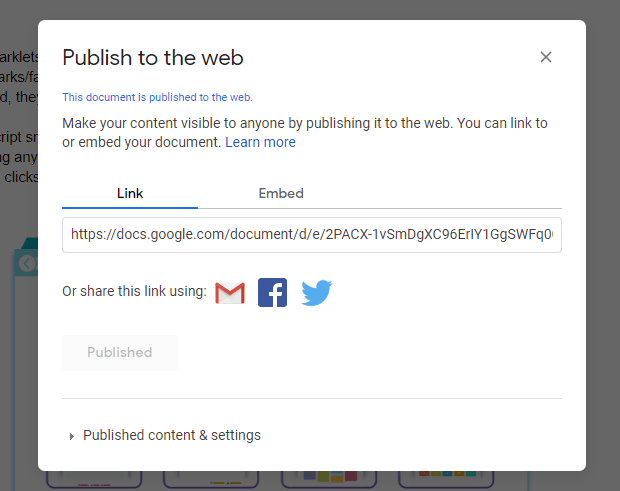
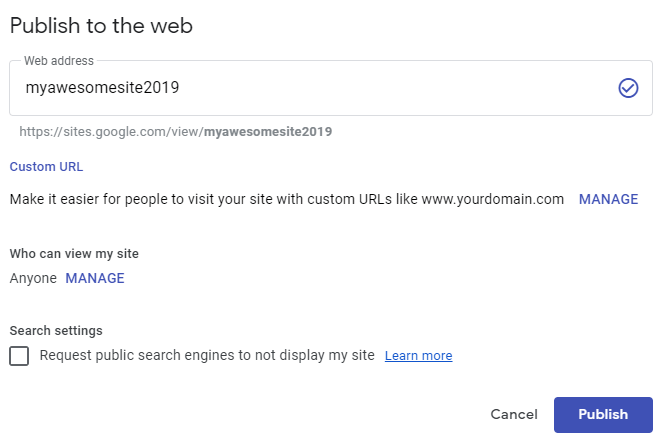
Google Docs is an online word processing tool that you might have used before. It runs entirely in your browser and saves to your Google account as you write, but did you know that it also lets you publish web pages to the internet for free? When you have a document open, go to File > Publish to the web, and select Publish from the Link tab. Copy the link that’s generated and share it with anyone that you want to have access to the page. If you use the File > Share menu instead, you can pick specific people to share it with. We’ve placed Google Docs as the number one best way to publish web pages for free because you can un-publish at any time, make changes to your page as often as you want, and even share the page with specific people only instead of the entire internet.
GitHub Pages
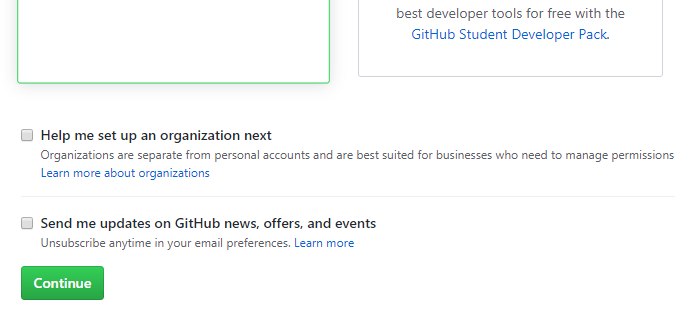
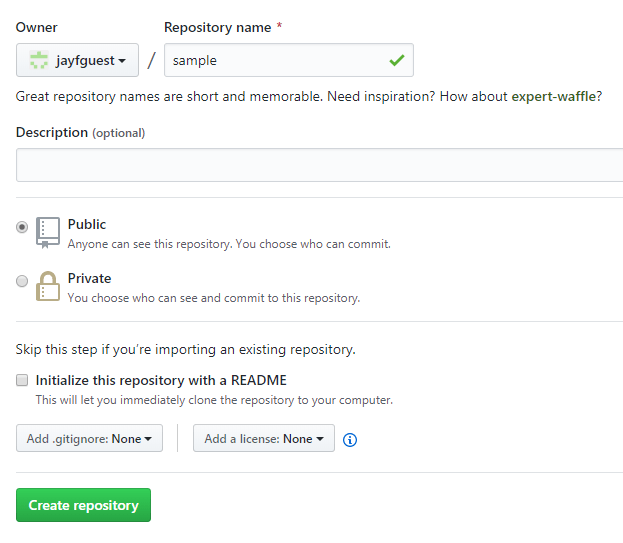
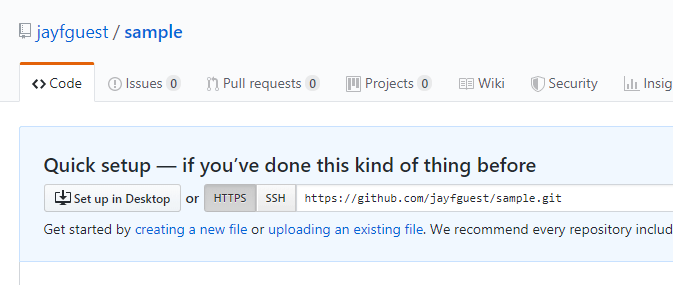
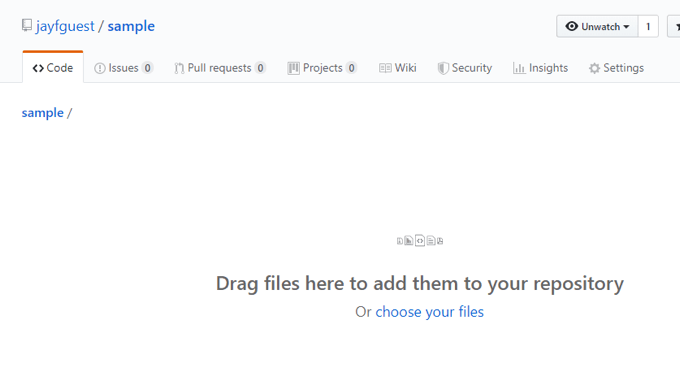
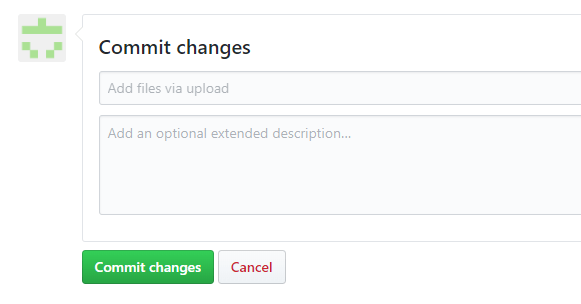
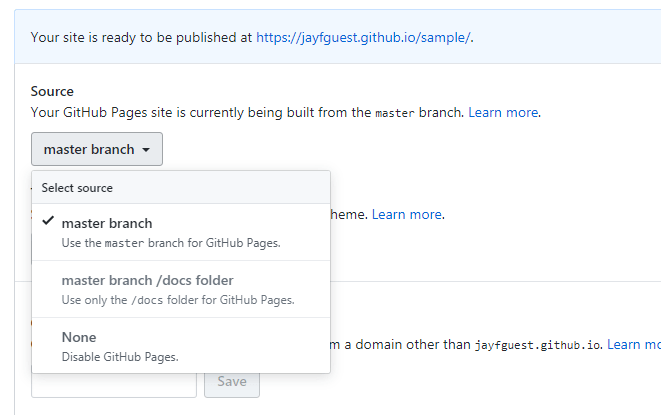
GitHub Pages is a part of GitHub, which is used primarily for sharing code. However, you can also upload your website files to have it host your web page or entire site. Step 1: Make a GiHub account. Note: The username you choose will always be visible in a GitHub web page. Here’s an example of a page created with this service, where “jayfguest” is the username and “sample” is the name chosen for the site (which you’ll do below): https://jayfguest.github.io/sample/ Step 2: Select Continue on the page asking if you want a free or pro account (Free is selected by default, so ensure that it is before continuing). Step 3: Select skip this step on the following page or optionally fill out the questionnaire. Step 4: Verify your new account by selecting the Verify email address link in the email you received from GitHub. Step 5: Open the Create a New Repository page and fill out the details for the site you want to create. The Repository name field will be visible in the URL. Also be sure to select Public. Step 6: Choose Create repository. Step 7: Select uploading an existing file to upload the contents of your website. Step 8: Drag onto the page the files you want to form into a website, or click choose your files to browse for them. Note: The home page needs to be named index.html. Step 9: Select Commit changes. Step 10: Go to Settings, scroll down to GitHub Pages, and change the Source to be master branch. Notice the URL in the screenshot above. This is where your GitHub Pages URL will be after finishing this last step. If you ever need to make changes to your web page, select it from your repository and use the edit button to launch the built-in editor. You’ll always need to commit the changes for them to be published, just like you did above in Step 9. Tip: Learn the top 10 tips on getting the most out of GitHub.
Google Sites
Another product from Google that lets you make a quick website is aptly called Google Sites. It’s super easy to use, supports drag-and-drop, connects to your Google Drive account, supports multiple pages, and just generally makes publishing web content easy. You can read all about how to use Google Sites here.
HTML Pasta
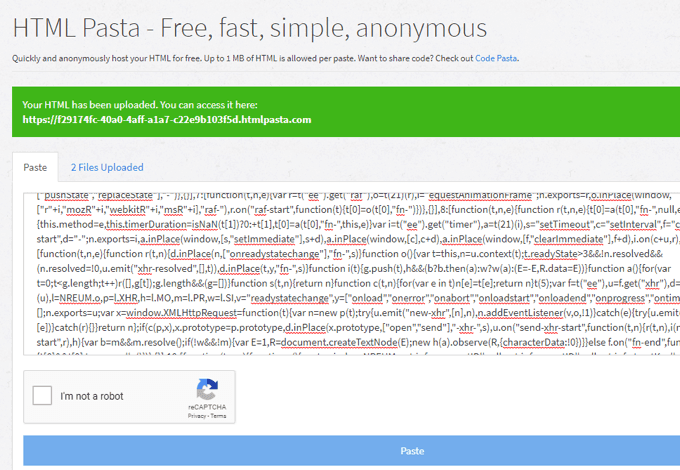
If you have a really small HTML file that’s less than 1 MB, you can use HTML Pasta. When you host an HTML file on this site, you don’t get to preview it before submitting, you have no way to delete it once it’s published, and you can’t edit the URL. However, you don’t need a user account to put the file online, so it’s entirely anonymously, meaning that nobody can find out who published it. All published pages are in this form: Here’s an example of a simple web page made with HTML Pasta.

